Hide and Show the hidden files and folder in Windows – will show you how can we make our files hidden, so that no one will able to see that file and again remove the hidden attribute to see that file in Windows Operating System. It will also show you how can we hide and show the hidden files in Windows. The process works on all version of windows like Windows XP, Windows Vista, Windows 7 (starter, home basic, home premium, professional and ultimate) and Windows 8 (Windows 8 single language, pro, Enterprise and RT)
Also Check: Create Hidden and Unsearchable folder in Windows so that no one will able to get the file on search result.
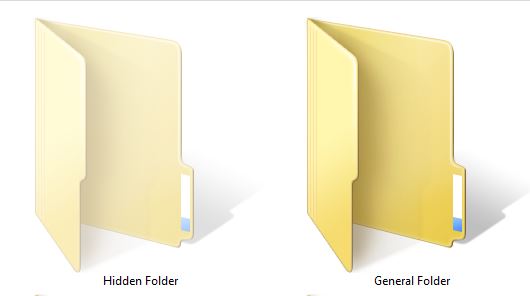
Hidden Folder and General Folder in Windows
How to hide and show the hidden files in Windows
1. Open Folder options on your Windows PC (Folder option in Windows 8 is present on the view tab of Ribbon UI).
2. Navigate to “View” tab on Folder Option.
3. Scroll down the horizontal scroll bar on the “Advanced setting” of the view tab till you get the option “Hidden files and folder“.
4. You will get two check boxes under “Hidde Files and folder” as
- Don’t show hidden files, folder or drives
- Show hidden files, folder and drives
5. Just select “Don’t show hidden files, folder or drives” to hide the hidden files and folder and select “Show hidden files, folder and drives” to show those hidden files and folder.
6. Now “Apply” all the changes and click on “OK“.
That is it.
Also Check: How to increase the facebook Security setting to protect from the hackers
How to make a file/folder hidden in Windows
1. Select the file/folder that you want to make hidden.
2. Right click of mouse on that file and choose “Properties“.
3. Navigate to “General” tab. (By default that will on the general tab. If not then navigate to it)
4. On the “Attributes” section you will get an check box “Hidden“.
5. Just tick that “hidden” check box.
6. Now “Apply” all the changes and click on “OK“.
7. That is it. Now the selected file/folder is hidden.
Also Check: How To Create A Hidden Folder Without Using The Hidden Option Of Windows
How to remove the hidden attribute from a file/folder in Windows
1. First you need to show the hidden files or folder to view the hidden files/folder by following the above process.
2. Select the file/folder whose hidden attribute you want to remove. (Note: Hidden files/folder are viewed as faded)
3. Right click of mouse on those files/folder and choose “Properties“.
4. Navigate to “General” tab. (By default that will on the general tab. If not then navigate to it)
5. On the “Attributes” section you will get an check box “Hidden”.
5. Just unchecked that “Hidden” check box.
6. Now “Apply” all the changes and click on “OK“.
7. That is it. Now the hidden attribute for the selected file/folder is removed and it is converted to general file/folder.
Also Check: How to play all type of audios and videos files in the default player of Ubuntu
Awesome post. This is really awesome.
Now we can hide perfectly any files and folders on windows pc in just few clicks.
Thank you…
Missing some file? Nothing to worry. Files Search Tool is a powerful tool, that allows you to quickly find lost files on your hard drive.